

mark_macdonald
-
Posts
10 -
Joined
-
Last visited
Content Type
Profiles
Forums
Blogs
Events
Downloads
Gallery
Store
Posts posted by mark_macdonald
-
-
<p>Mark: in my case the shutter had completely frozen up. I recall it firing erratically for a while before it got completely jammed, but I can't say if the timings were off… I wasn't making very careful observations.</p>
-
<p>Thanks for all the help and references. It was indeed the rear lens element which was reversed: the curved side needed to be facing the film plane (same as in the diagram that Dan linked).<br>
<br />The technician did not admit it was their mistake. I'm now certain that it was, but I opted to fix it myself rather than haggle and wait. Maybe not the wisest course of action, but it worked out OK.<br>
<br />I used some instructions for the similar Yashica Mat 124, which explain how to remove the taking lens: <a href="http://www.usedcameradb.com/blog/2009/08/yashica-mat-124-cleaning-1-of-4-taking-lens/">http://www.usedcameradb.com/blog/2009/08/yashica-mat-124-cleaning-1-of-4-taking-lens/</a> . The most difficult part is unscrewing the ring that holds the rear lens element in place. If your tool slips at this stage, you can easily scratch the lens.<br>
<br />As Dan suggested, scotch tape spread across the film rails allowed me to view a bright image through the lens so I could verify the problem was fixed.<br>
<br />Unfortunately I wrecked several rolls of important photos before discovering this problem. Lesson learned: always shoot a test roll first from now on!</p>
<p>Regards, Mark<br /><br /></p>
-
<p>Thanks for the responses. I will try to get the shop to repair this.</p>
<p>Failing that, however: what is the expected configuration of the lens elements? My camera has the 3-element Yashikor f/3.5 lens. The rear element (which I managed to remove, carefully) currently has its convex side facing the front of the camera, and the flatter side facing the film — is that correct?</p>
<p>The front elements appear to be fastened together as one unit, and I don't see how they could've been screwed in backwards. Neither the front nor rear element was noticeably loose or badly-seated.</p>
<p>Can anyone confirm that my placement of the rear element is correct? I did find some camera assembly diagrams but they don't show the orientation of the individual elements. And is there any way to verify visually if the problem's been improved without sacrificing a roll of film?</p>
<p>Appreciate the help, thanks.</p>
-
<p>Just got my Yashica D back from the shop for a clean/lube/assembly. Ran a few rolls through it and was disappointed at the results.</p>
<p>The developed images are swirly and out-of-focus, like they were shot through water or vaseline. Nothing is sharp, even the focus point. It seems to get worse near the edge of the frame, almost looking like a fast-motion smear in the really extreme areas. Everything looks fine through the viewing lens, of course.</p>
<p>The tech suggested that the lens elements might be misaligned, and to try tightening the front lens cell. I tried, but it's pretty tight already (I can't make it any tighter with my thumbnails). Another suggestion was that the film was curved or not loaded properly. I guess that's possible, but I would've had mess it up identically on 3 separate rolls (two C-41 and one B&W).</p>
<p><br /> Any ideas on what this could be? I'm hesitant to mail it back (shipping is expensive), but the camera is essentially useless in this state.</p>
<p><br /> Here are pictures of the problem:</p>
<ul>
<li><a href="http://farm9.staticflickr.com/8324/8092393394_2768698bf6_h.jpg">One</a></li>
<li><a href="http://farm9.staticflickr.com/8334/8092384429_97bafff739_h.jpg">Two</a></li>
<li><a href="http://farm9.staticflickr.com/8336/8092408299_353a335ea7_h.jpg">Three</a></li>
<li><a href="http://farm9.staticflickr.com/8463/8092530623_7886709692_k.jpg">Four</a></li>
</ul>
-
<p>For the benefit of anyone finding this post later: David McNiven's comment was right on. The mirror was sticking to the goopy, crumbling foam that runs along the top inner edge of the chamber.<br>
I replaced the old foam using a pre-cut kit available on eBay, and haven't had this problem since.</p>
-
<p>Jon: The frames that I do get seem fairly evenly spaced.<br>
However, I just found the camera manual and closely read the section on Film Loading. It says this:</p>
<blockquote>
<p><em>Always align the start marks of the film and spool clip before placing the film insert into the camera. If the start marks are aligned within the camera with the aid of the film advance crank, the first frame will not be correctly positioned.</em></p>
</blockquote>
<p>I was putting the back into the camera <em>first</em>, and <em>then</em> winding the film and aligning the start marks. Since doing this turns the gears connected to the film spool, it was probably dragging the film counter forward, causing it to advance a few frames beyond where it should've been.<br>
I'll have to run another roll through to verify this, but it sounds plausible. Happily, user error is the cheapest problem to fix. :)</p>
-
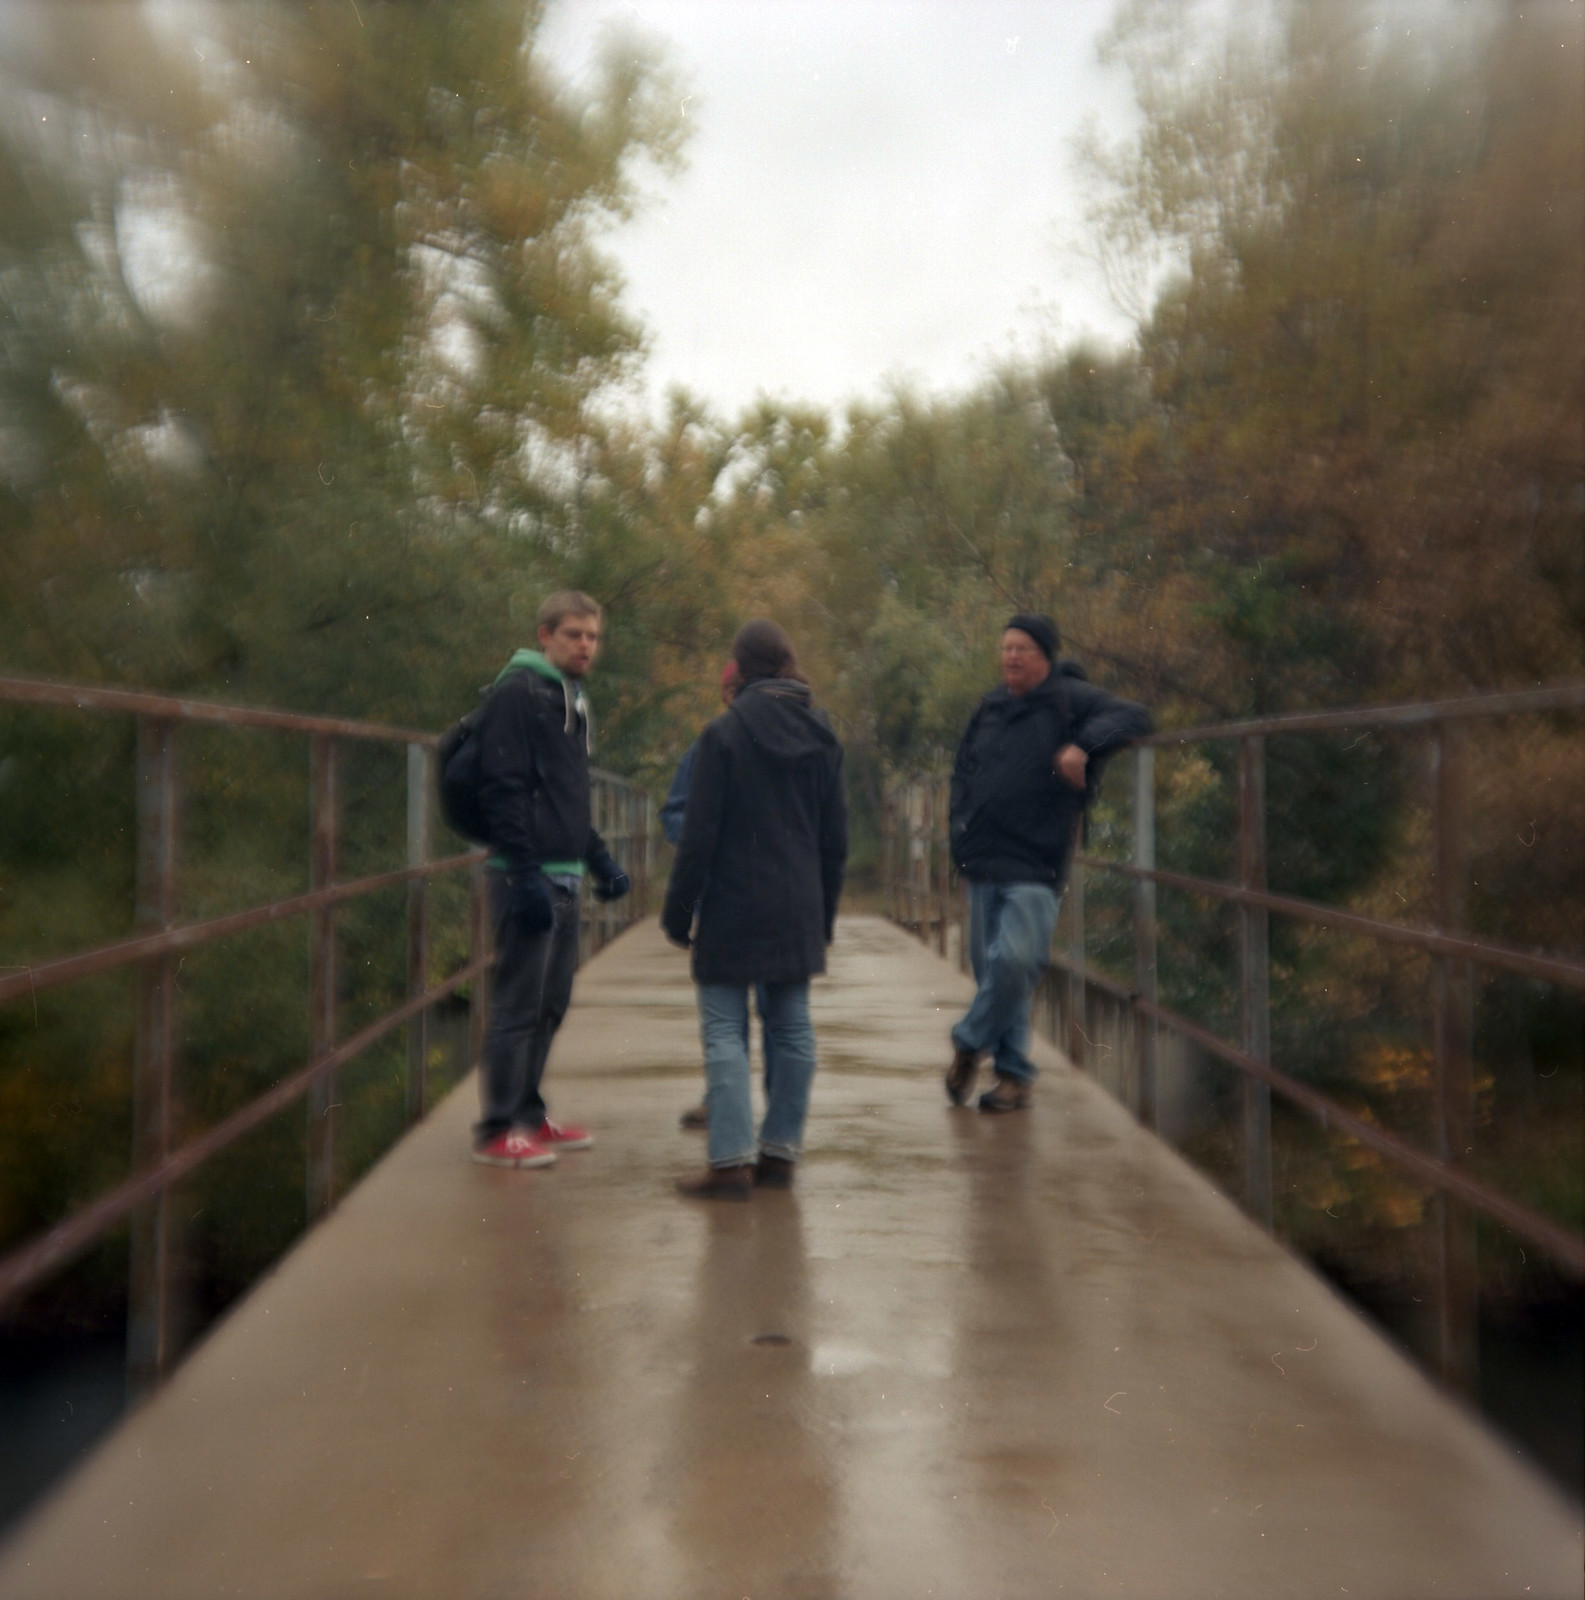
<p>I've got a M645 1000s with the 120 film back. I seem to be averaging about 13 exposures to a roll, which I think is too few.<br /><br />When loading the film, I'll wind it until the red arrow is facing me, and then close the back. It takes an extra crank or two of the winding lever before the camera is ready for the first exposure, which seems reasonable.<br /><br />However, when I get the developed film back from the lab, I see a bunch of empty space following the last exposure on the roll. It looks like about 3 additional exposures that I'm missing out on.<br /><br />Any idea what could be wrong here? If indeed there's a bunch of perfectly good film unused at the end of the roll, it'd seem that the camera's frame counter is reaching the end too early.<br>
I've attached a pic of the last exposure on the roll.</p>
<div>
 </div>
 -
<p>Thanks, Harry. I did read the "photographing at low temperatures" section in the manual, but I still experience this problem when shooting at room temperature. The manual also mentioned that the mirror will lock in the up position when there's no battery in the camera, and that pressing the battery check button all the way down will unlock it.<br>
In my case, when the mirror gets stuck up, the battery check button does nothing, which is confusing me more.</p>
-
<p>I just bought a Mamiya 645 1000S with the waistlevel finder.<br /> <br /> While shooting my first roll, I found a problem that occurs about 1 in every 3 shots. Basically, after I press the shutter release, the mirror remains stuck in the "up" position. (I can't see anything through the finder, etc.) To get the mirror to go back down, I have to toggle the Mirror Lockup lever to "M.U." and then back again. Alternately I can wind the film advance lever, and fire the shutter again.<br /> <br /> It seems to happen more often in the cold, which made me suspect the battery. But I'm using a fresh 6V battery (4LR44), and I cleaned the contacts with rubbing alcohol. The battery test LCD lights up just fine.<br /> <br /> I removed the finder, lens and film insert, so I could observe what happens when it jams. It <em>looks</em> like the shutter is opening & closing properly, and just the mirror is stuck. This encouraged me a bit, because it means that all those shots I took aren't ruined... But I won't know until I get them back from the lab.<br /> <br /> Any ideas? Is this grounds for returning the body to KEH? I can deal with jiggling the mirror lock-up lever if I have to, but I don't want to pay for repairs of a camera that I just bought. Thanks for reading! Mark</p>

Adonal developer replaces Rodinal ?
in Black & White Practice
Posted
<p>I bought a bottle of Blazinal back in 2012 from FilmPlus in Toronto, so it's about 3.5 years old now. Kept in the plastic bottle, which is now about 60% full. Marked "Made in Germany".</p>
<p>Much to my dismay, it seems to have lost some of its potency. Either that or I botched the developing job. I followed the steps from the Massive Dev Chart fairly closely:</p>
<ul>
<li>1+25 dilution</li>
<li>Ilford HP5+ 120 format, ISO 400</li>
<li>Develop time 6:00</li>
<li>Constant agitation during first minute, and for 15s every minute thereafter</li>
</ul>
<p>The resulting negatives were noticeably thin.</p>
<p>Possible sources of error: I didn't shake the bottle of Blazinal before mixing my solution, so it might've lacked some of the separated solids. And the solution temp might've been somewhat hotter than 20°C (although if anything I'd expect that to over-develop, not under-).</p>
<p>So... Keeping this stuff in a glass bottle is probably a good idea. And despite Rodinal's reputation for longevity, always run a test roll first. :)</p>