

inspiration point studio
-
Posts
513 -
Joined
-
Last visited
-
Days Won
1
Content Type
Profiles
Forums
Blogs
Events
Downloads
Gallery
Store
Posts posted by inspiration point studio
-
-
<p>I ran some tests for you on a MAC. I imported 3 10mb images into iPod Touch via iTune and iPhoto. All the files were first stored in iPhoto, file size unchanged. iTune uses iPhoto library to import the images, but when that happens, all the files get down res. 3 10mb files only take up 3mb of space on the iPod Touch. In other words, if you import all your original files into iPhoto at full resolution, the import into iPod Touch will down res the images automatically. The images look quite nice.<br>
I'm not sure how this will work on a PC.</p>
-
<p>iPod Touch screen resolution is 480x320. Storing a large file will only waste space and file read/write time. A easy way, if you have Photoshop, is to record a script that resize the image, convert the color space and sharpen to a screen resolution of 163 pixels per inch, then save the file in a separate folder. When you resize the image, only specify the horizontal pixels so the aspect ratio of the original image is retained. After you have recorded the script, use Adobe Bridge, select all the images you want to import to iPod, then run Photoshop script and in no time, you have all the files converted.</p>
-
<p>I agree with Ilkka. The 1410 is a Gitzo 4 series tripod designed for heavy 400/f2.8 teles. It's an overkill for your 5D/zoom.</p>
-
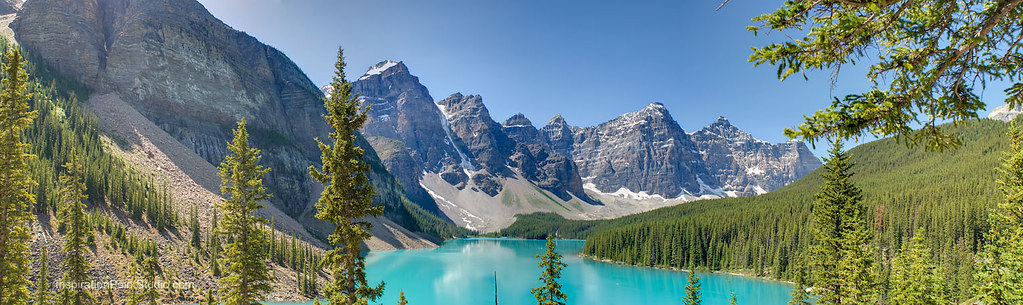
<p>How about this for Lake Moraine. <a title="Moraine Lake - Valley of the Ten Peaks by Inspiration Point Studio, on Flickr" href="
 title="Moraine Lake - Valley of the Ten Peaks by Inspiration Point Studio, on Flickr"><img src="http://farm4.static.flickr.com/3448/3799455012_3d6a47bd57_b.jpg" alt="Moraine Lake - Valley of the Ten Peaks" width="1024" height="305" /> </a><br>
For large panorama, try convert it to a painting using Photoshop dry brush tool, then print it on a large canvas.</p>
-
<p>Gitzo tripods are classified in numerical series. Model 2 series is designed for 200mm lens and shorter. 3 series for 300mm lens and shorter. If you are looking for a 2 series tripod, I think an aluminum tripod is a better buy. Aluminum is slightly heavier than the carbon fiber, but not that much for a 2 series. If you are getting a 3 series or higher tripod, a carbon fiber one is better, but it's really expensive. I own a 2 series aluminum and a 3 series carbon fiber.</p>
-
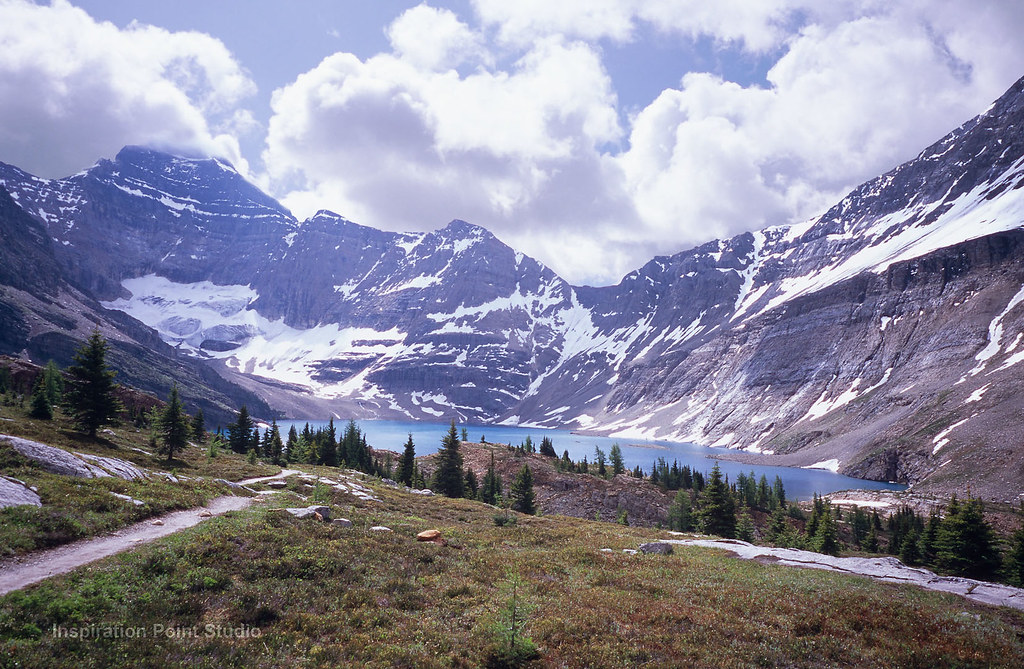
<p>Try the hikes at Lake O'Hara area. You need to reserve a shuttle to get in there. That's how they limit the crowd in that area. A real gem in the park. Here's a photo of Lake McArthur. <a title="Lake McArthur by Inspiration Point Studio, on Flickr" href="
title="Lake McArthur by Inspiration Point Studio, on Flickr"><img src="http://farm3.static.flickr.com/2675/3816766142_221465933a_b.jpg" alt="Lake McArthur" width="1024" height="669" /> </a><br>For a slide show of Banff, click on this <a rel="nofollow" href="http://www.flickr.com/photos/inspiration_point_studio/sets/72157621850143587/show/"><strong>link. </strong> </a><br>
If anyone is interested in going to Banff, check out the short write up at: <a rel="nofollow" href="http://www.InspirationPointStudio.com/IPS/Welcome.html "><strong>Inspiration Point Studio.com. </strong> </a> Let me know what you think.</p>
-
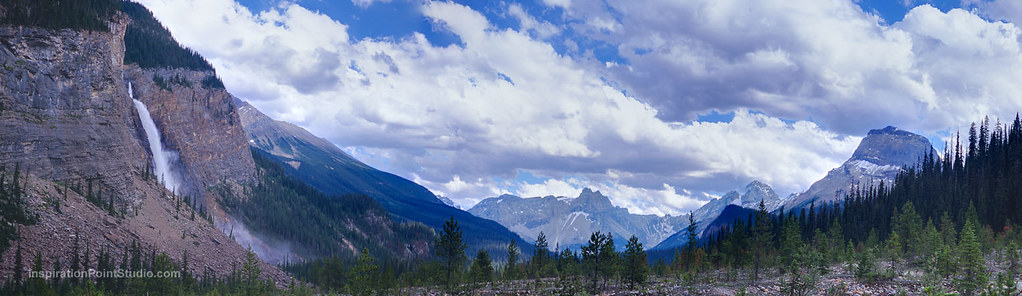
<p>Takakkaw Falls panorama <a title="Yoho River Trail - Yoho National Park by Inspiration Point Studio, on Flickr" href="
title="Yoho River Trail - Yoho National Park by Inspiration Point Studio, on Flickr"><img src="http://farm4.static.flickr.com/3429/3809859507_4599c20f41_b.jpg" alt="Yoho River Trail - Yoho National Park" width="1024" height="296" /> </a><br>If anyone is interested in going to Banff, check out the short write up at: <a rel="nofollow" href="http://www.InspirationPointStudio.com/IPS/Welcome.html "><strong>Inspiration Point Studio.com. </strong> </a> Let me know what you think.</p>
-
 1
1
-
-
There is no RGB adjustment on the Apple monitor. You specify the target white point of 6500 during the initial phase of the Eye One calibration, during the calibration phase, you skip the contrast and RGB calibration, just do the brightness calibration. After that, you're done and save the profile.
-
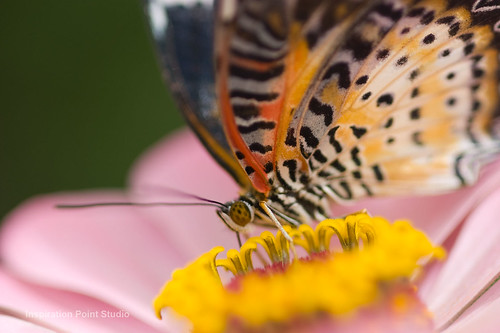
<a
href="http://www.flickr.com/photos/inspiration_point_studio/sets/72157606499399896/show/"
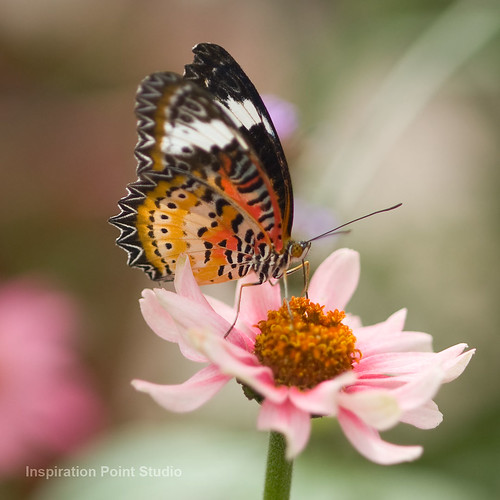
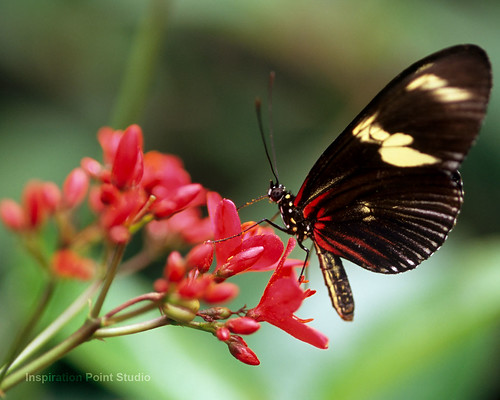
title="Red Lacewing by Inspiration Point Studio, on Flickr"><img
src="http://farm4.static.flickr.com/3035/2724890701_a210ab1c02.jpg"
width="500" height="500" alt="Red Lacewing" /></a><P></P><P>
Click on photo to view butterfly slide show hosted on flickr.com</P>
-
It should fit both sets separately. I travel with a Contax 645, two lens (45mm and 80mm distagon), together with a M6, and two small Leica lens (24mm and 35mm).
-
An alternative is to write a Photoshop action script to do the necessary conversions (8bit, resize, sharpening) AND "save as"/"close file" to a predefined foler. Once the script is ready, go to Bridge. Select the images you want to convert from the light table, then select the photoshop batch option from the top menu, select the action script you just defined and Bridge will do the rest. The Photoshop script is now available for future use from Bridge.
-
One thing I notice is if it is a dust particle on the sensor, the blurriness is dependent on the exposure aperture. The smaller the aperture, the clearer (sharper edge, darker color) the problem is. I had a similar problem on my DSLR and it was due to a tiny dust particle.
-
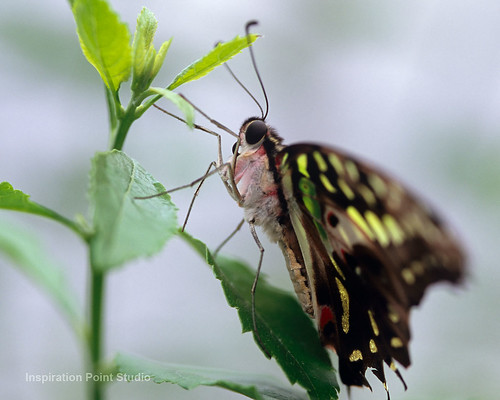
<a
href="
" title="Tailed Jay by Inspiration Point Studio, on Flickr"><img
src="http://farm4.static.flickr.com/3282/2549269563_b1544eb449.jpg"
width="500" height="400" alt="Tailed Jay" /></a>
-
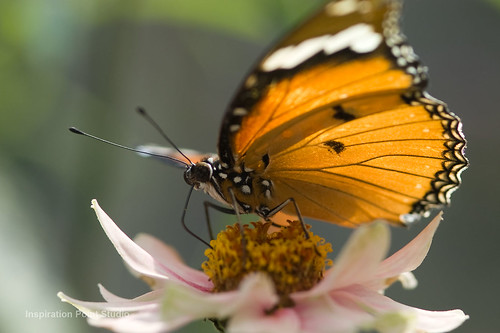
<a
href="
" title="Monarch Butterfly by Inspiration Point Studio, on Flickr"><img
src="http://farm3.static.flickr.com/2164/2521269003_198107d8bd.jpg"
width="500" height="333" alt="Monarch Butterfly" /></a>
-
I have a short blog that talks about various flower photography techniques. It talks about lens selection also. Hope that helps.
http://www.inspirationpointstudio.com/IPS/Gallery/636461A8-6F93-4B69-97C4-8CFF67BDB37C.html
-
Good macro
in Nikon
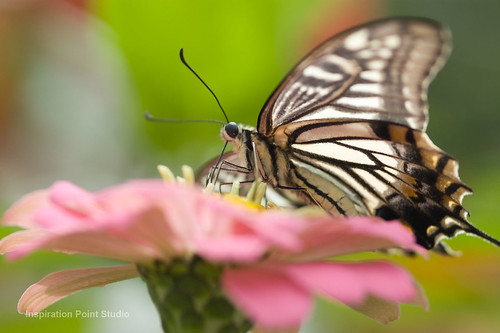
<P>Sample of a butterfly shot using 105mm AF and D50. Click on the photo to go to the flickr site for the bigger sample.</P>
<a href="
title="Butterfly by Inspiration Point Studio, on Flickr"><img src="http://farm3.static.flickr.com/2294/2526760490_87a3b64bf8.jpg" width="500" height="333" alt="Butterfly" /></a> -
It's possible that the company doesn't stock the unit but will order one for you. For example, Adorama says they don't have anything in stock, but you can still order one.
-
I discovered the ligtsrightstudio tool just a few weeks ago. Glad many of you like it. I came back from my Seattle/Portland vacation with hundreds of digital raw files. It was quite laboreous to adjust individual files to my liking. It's not like scanning my slide of choice (e.g. Velvia or Provia) and that's it. Anyway, I turned the lightsrightstudio procedure into different Photoshop automation scripts, setting the a/b channels to 5%, 10%, and 15% respectively. The automated script allows me to try different settings, if I don't like the result, just revert to original and try a different setting. Quite painless. You can see some of the results on my flickr site, just click on the slide show icon on the top right hand corner.
-
Excellent comments about the D40 and AFS lens compatibility requirement. I only use a D50 and F5.
Here's another sample of a 105mm AF on a D50 with tripod. To me, it's quite clear from the samples here that which images were taken with the aid of a tripod. However, I do want to point out that my samples were taken in a butterfly garden with hundreds of them flying around. It will be difficult to get the same level of closeless on the trail.
<a href="
title="Butterfly by Inspiration Point Studio, on Flickr"><img src="http://farm3.static.flickr.com/2253/2521269153_a8bdcb5932.jpg" width="500" height="333" alt="Butterfly" /></a> -
<P>I would get a used 105mm micro AIS manual lens or a 105mm AFD auto focus instead of a VR lens. If you are
shooting insects, you need a tripod. it is almost impossible to do it hand held and stay focus on an insect's
eyes. The VR feature helps you stabilize the image, but it won't help you stay focus. I have both the 60mm and
105mm versions, one AFD and one AF. I only use the 105mm version for flowers and insects. Check out my floral and
butterfly collection at <a href="http://www.flickr.com/photos/inspiration_point_studio/sets/72157604210122921/"
rel="nofollow"><b>flickr</b></a>, there are many samples of the 105mm lens. There are also examples of what a
Zeiss MF makro lens can do.</P>
<a href="http://www.flickr.com/photos/inspiration_point_studio/2550094398/" title="Butterfly by Inspiration Point
Studio, on Flickr"><img src="http://farm4.static.flickr.com/3001/2550094398_b76f14e20e.jpg" width="500"
height="400" alt="Butterfly" /></a>
-
Check the following link out. There is an article on how to adjust the LAB channels to get a Velvia look. I prefer that method over just adjusting the saturation knob.
-
-
I don't know how you can get Newton rings on a UV filter. Newton rings is usually the result of film touching a glass surface (e.g. glass mounted slides, or glass carrier for film scanner). I've never seen Newton rings caused by UV filter before.
I always leave the filter on. If I'm shooting back lit subjects, I make sure there is a lens hood or use a cap to block the stray light. If there is a direct light source within the image frame, I remove the filter.
I dropped my camera once onto the hardwood floor. The UV filter rim was warped, the floor had a big scratch, but the lens and camera body survived the drop. This is the only time I dropped my camera in more than 20 years, but it was well worth the insurance. Just make sure you get a top quality multi-coated filter,
-
<P>Nikon 110mm AF micro on a D50.</P>
<a href="
title="Butterfly by Inspiration Point Studio, on Flickr"><img
src="http://farm3.static.flickr.com/2294/2526760490_87a3b64bf8.jpg" width="500"
height="333" alt="Butterfly" /></a>


Should I toss this SD card?
in Beginner Questions
Posted